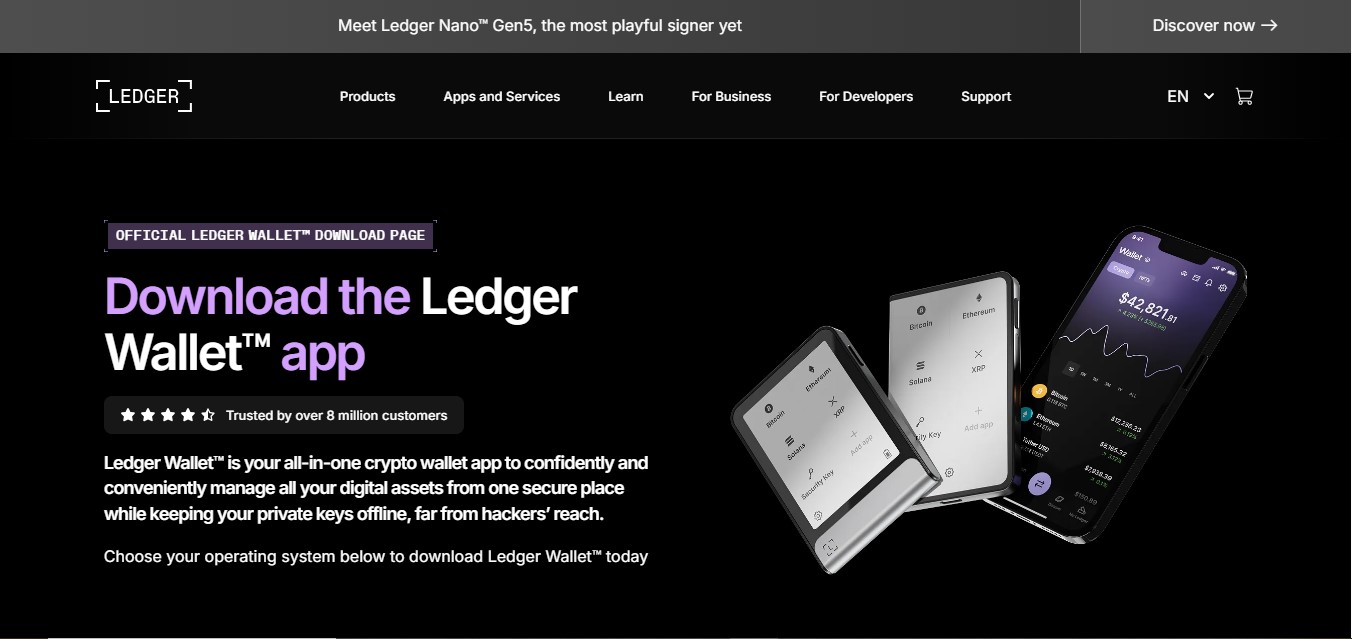
Ledger.com/Start® | Getting Started — Ledger Support™
Ledger hardware wallets are designed to give you full control over your cryptocurrency by keeping your private keys offline and protected from online threats. If you’ve recently purchased a Ledger device, Ledger.com/Start® is the official and safest place to begin your setup. This guide walks you through everything you need to know to get started securely using Ledger Support™, from unboxing your device to managing crypto assets with confidence.
Why Start at Ledger.com/Start®?
Security is critical in crypto, and Ledger strongly recommends starting only at Ledger.com/Start®. This official onboarding page ensures you download authentic software, follow verified instructions, and avoid phishing or counterfeit apps. Third-party links or unofficial guides may expose you to risks, including fake Ledger Live apps or compromised firmware.
By using Ledger.com/Start®, you ensure:
Genuine Ledger software downloads
Official firmware installation
Accurate device verification
Step-by-step security guidance
What You’ll Need Before You Begin
Before setting up your Ledger device, make sure you have:
A Ledger hardware wallet (Nano S Plus, Nano X, or newer model)
A computer or smartphone with a stable internet connection
A USB cable or Bluetooth connection (model-dependent)
A quiet, private space to safely write down your recovery phrase
Never begin setup in a public or shared environment.
Step 1: Go to Ledger.com/Start®
Open your web browser and visit Ledger.com/Start®. The page automatically guides you based on your device model and operating system. From here, you’ll be directed to download Ledger Live, the official companion app used to manage your crypto assets.
Avoid downloading Ledger Live from app stores or search ads unless they redirect you to the official Ledger domain.
Step 2: Download and Install Ledger Live
Ledger Live is available for:
Windows
macOS
Linux
iOS
Android
After downloading:
Install Ledger Live on your device
Open the app
Choose “Get Started”
Ledger Live will guide you through selecting your Ledger device and verifying its authenticity.
Step 3: Set Up Your Ledger Device
When you connect your Ledger hardware wallet for the first time, you’ll see two options:
Set up as a new device
Restore from recovery phrase
If this is your first Ledger wallet, select Set up as a new device.
Create a PIN Code
You’ll be prompted to create a PIN code directly on the device. This PIN protects your wallet from unauthorized physical access. Choose a PIN that is difficult to guess and never share it with anyone.
Step 4: Write Down Your Recovery Phrase
This is the most important step in the entire setup process.
Your Ledger device will generate a 24-word recovery phrase, displayed only once on the device screen. Carefully write down each word in the exact order on the recovery sheet provided.
Important Security Rules
Never take photos or screenshots of your recovery phrase
Never store it digitally (cloud, email, notes app)
Never share it with anyone, including Ledger Support™
Anyone with this phrase can access your crypto
Ledger will never ask for your recovery phrase.
Step 5: Confirm the Recovery Phrase
To ensure accuracy, your Ledger device will ask you to confirm random words from your recovery phrase. This step verifies that you wrote it down correctly and understand its importance.
Once confirmed, your wallet setup is complete.
Step 6: Install Apps and Add Accounts
Using Ledger Live, you can now install crypto apps on your device, such as:
Bitcoin (BTC)
Ethereum (ETH)
Solana (SOL)
Polygon (MATIC)
Many more supported assets
After installing an app:
Go to Accounts in Ledger Live
Click Add account
Select the cryptocurrency
Ledger Live will synchronize your wallet
You’re now ready to receive and manage crypto securely.
Step 7: Sending and Receiving Crypto
Receiving Crypto
To receive funds:
Open Ledger Live
Select the account
Click Receive
Verify the address on your Ledger device screen
Always confirm addresses on the device itself, not just on your computer or phone.
Sending Crypto
To send funds:
Click Send in Ledger Live
Enter the recipient address and amount
Confirm transaction details on your Ledger device
Transactions are only approved when physically confirmed on the hardware wallet.
Ledger Support™: Help When You Need It
If you encounter issues during setup, Ledger Support™ is available through official help articles, FAQs, and guided troubleshooting. Common topics include:
Device not recognized
Ledger Live connection issues
Firmware updates
Recovery phrase restoration
Genuine check verification
For security reasons, Ledger Support™ will never:
Ask for your recovery phrase
Ask for your PIN
Ask you to send crypto
If anyone does, it’s a scam.
Keeping Your Ledger Wallet Secure
To maintain long-term security:
Keep your recovery phrase stored offline in a secure location
Use a strong PIN code
Regularly update Ledger Live and device firmware
Verify all transaction details on the device screen
Beware of phishing emails and fake websites
Ledger.com/Start® should always be your reference point for official updates and instructions.
Final Thoughts
Starting your crypto journey at Ledger.com/Start® ensures a safe, verified, and user-friendly onboarding experience. With the support of Ledger Support™ and the security of a hardware wallet, you gain full ownership and control over your digital assets.
By following best practices and understanding how Ledger protects your private keys offline, you can confidently manage, send, receive, and grow your crypto portfolio—securely and independently.